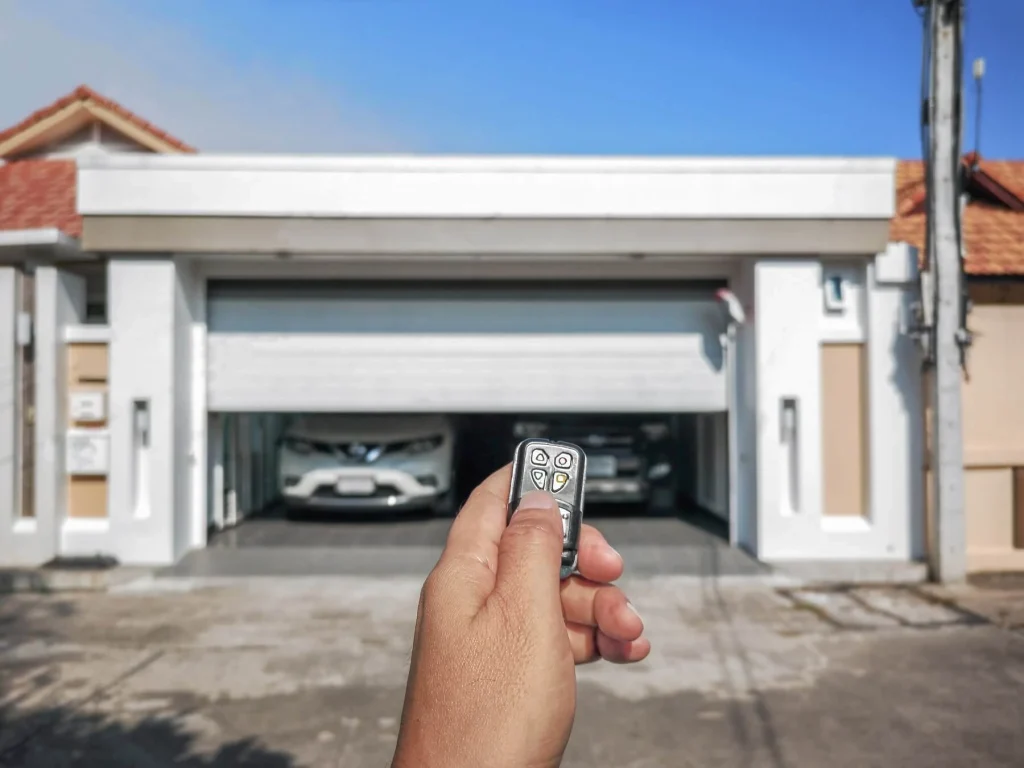
Programming a garage door remote control requires following the correct steps, using the right remote, and understanding how your opener communicates with the device. Skipping any part of the process is the most common reason remotes fail to sync on the first attempt.
Garage door remote programming varies by brand, opener type, and remote model, so knowing what applies to your specific setup matters. This guide covers the complete process in the correct order so your remote is paired and fully functional by the end.
Is Programming a Garage Door Remote Control Really That Simple?
Programming a garage door remote control follows a specific sequence, and most failed attempts come down to a single small mistake that breaks the connection before the pairing is completed.
For most homeowners, the answer is yes because:
- The entire process takes less than five minutes on most opener models
- No special tools or technical experience are needed to complete the pairing
- Every major opener brand uses the same basic learn button programming method
- A successful sync only requires pressing two buttons in the correct order
- Most openers give a clear visual or audio confirmation when programming is done
To understand why your remote still refuses to respond even after following every step, read our guide on Why Is My Garage Door Remote Control Not Working?, which walks you through every possible cause behind a failed connection.
What You Need Before You Start Programming
Having the correct items ready before you start saves you from stopping halfway through the process and starting over from scratch.
Before you begin, make sure you have:
- The correct remote model that matches your opener’s brand and frequency
- Fresh batteries were installed in the remote before attempting any programming
- Access to the learn button on your opener’s motor unit
- The opener’s manual or model number for compatibility reference
- A ladder or step stool if your opener is mounted high on the ceiling
- A clear line of sight between the remote and the opener during pairing
- Knowledge of whether your opener uses a rolling code or fixed code system
Confirming these items before you touch any buttons gives you the best chance of completing the programming process on the first attempt.
How to Program a Garage Door Remote Control
Step 1 — Locate the Learn Button on Your Garage Door Opener
Finding the learn button on your garage door opener is the starting point of the entire programming process.
Key things to know about locating the learn button:
- Located on the back or side panel of the motor unit mounted on the ceiling
- Covered by a light panel on some models that lifts or snaps off by hand
- Color varies by brand, including yellow, purple, red, and green
- Printed labels near the button often read “Learn,” “Program,” or “Smart”
- Older opener models may not have a learn button at all
Knowing exactly where the learn button is before starting prevents delays once the 30-second pairing window opens.
Step 2 — Activate Learn Mode on Your Opener
Activating learn mode correctly gives your opener the signal it needs to recognize and pair with a new remote.
Follow these actions carefully:
- Press the learn button once and release it immediately without holding it down
- Watch for the indicator light to turn on and stay solid near the button
- Pairing mode stays active for approximately 30 seconds before timing out automatically
- Holding the button down too long erases all previously programmed remotes from memory
- Repeated failed attempts may require a full memory clear before trying again
Starting fresh with a cleared memory on the opener significantly improves the success rate, and persistent pairing failures may indicate a need for garage door opener repair.
Step 3 — Press and Hold Your Garage Door Remote Button
Once the learn mode is active, the remote must send a signal to the opener within the pairing window for the connection to be registered.
During pairing, keep these points in mind:
- Stay within a few feet of the motor unit for a stronger and more stable signal
- Press and hold the main button on the remote without releasing it prematurely
- Keep the remote pointed directly toward the opener unit throughout the process
- Avoid pressing multiple buttons at once, as extra input can cancel the pairing attempt
- Signal interference from nearby electronics can disrupt the connection during this step
Clearing the area of active wireless devices before pairing improves the overall signal quality between the remote and the opener.
Step 4 — Confirm the Pairing Was Successful
Getting a clear confirmation signal from the opener tells you the remote has been accepted and stored in the opener’s memory.
Watch for these confirmation signals after releasing the remote button:
- Opener lights flash twice to indicate a successful pairing
- Two audible clicks from the motor unit confirm that the remote was recognized
- The indicator light near the learn button turns off once pairing is complete
- No response from the opener means the pairing window closed before the signal was received
- A single flash without clicks usually means the process needs to be repeated
Receiving both visual and audio confirmation is the strongest sign that the remote is fully paired, and adding garage door keypads gives the household an additional way to access the garage without relying solely on the remote.
Step 5 — Test Your Garage Door Remote Control
Testing the remote immediately after programming confirms the connection is stable and the signal reaches the opener from a practical distance.
Put the remote through these checks before considering the job done:
- Press the remote button once from inside the garage and watch for door movement
- Test from the end of the driveway to confirm the signal holds at a normal distance
- Press the button again mid-cycle to confirm the remote can stop and reverse the door
- Test from inside a vehicle, since that is the most common real-world use scenario
- Swap out remote batteries if the door fails to respond despite a confirmed pairing
A remote that loses signal from a distance almost always points to a battery or antenna issue, and continued problems after a battery swap may call for a new garage door opener replacement.
How to Program a Universal Garage Door Remote
Step 1 — Enter Programming Mode on the Remote
Getting a universal remote into programming mode is the first action required before any brand code or pairing can take place.
Key things to know before entering programming mode:
- Most universal remotes use the bottom button or a small back button to activate programming mode
- Press and hold the programming button until the LED light turns on and stays solid
- Accidental button presses during this step cancel programming mode immediately
- Solid LED light confirms the remote is ready to receive a brand code
- Avoid pointing the remote away from the opener unit during this step
Entering programming mode correctly on the first attempt sets up every subsequent step for a smooth, successful pairing.
Step 2 — Enter the Brand Code for Your Opener Type
Brand codes tell a universal remote which opener type it needs to communicate with, and entering the wrong code is the most common reason for a pairing failure.
Important points about entering the brand code:
- Brand codes are determined by the color of the learn button on your opener
- Yellow learn buttons typically require one press of the programmed button
- Purple learn buttons require two presses to match the opener type
- Orange or red learn buttons require three presses for correct code entry
- Green learn buttons require four presses to complete the brand code
Matching the correct number of presses to your opener’s learn button color is the single most important factor in successfully pairing a universal remote.
Step 3 — Exit Remote Programming Mode
Locking in the brand code by exiting programming mode tells the remote to save the entry and prepare for syncing with the opener.
Follow these steps to exit programming mode correctly:
- Press any button other than the one used for brand code entry to lock in the code
- Watch for the LED light to blink or turn off as confirmation that the code was saved
- Avoid pressing the programming button again, as it restarts the entire process
- Give the remote a few seconds before moving to the next step
- Confirm the LED is no longer in its solid or flashing state before proceeding
Saving the brand code correctly before the sync step prevents the most common source of universal remote pairing failure.
Step 4 — Sync the Remote With Your Opener’s Learn Button
Syncing the universal remote directly to the opener is the final step in the garage door remote programming process.
Complete the sync by following these steps in order:
- Press the learn button on the opener once to activate the 30-second pairing window
- Immediately press and hold the programmed button on the universal remote
- Hold the button until the opener lights flash or two audible clicks are heard
- Release the remote button only after receiving the confirmation signal from the opener
- Test the remote by pressing the button to open and close the door
Completing each sync step in the correct order without rushing is what separates a successful pairing from one that requires starting over.
Garage Door Remote Programming by Opener Brand
LiftMaster or Chamberlain Remote
LiftMaster and Chamberlain remotes share the same programming sequence because both brands use identical learn button technology.
Steps to follow when programming a LiftMaster or Chamberlain remote:
- The learn button is typically yellow or purple, depending on the model and production year
- Press and release the learn button once to activate the 30-second pairing window
- Press and hold the remote button until the opener lights flash twice
- Two flashes or two audible clicks confirm the remote has been accepted into memory
- Rolling code technology generates a new signal after every use for added security
Getting the single press-and-release motion on the learn button correct determines whether the opener enters pairing mode or erases all stored remotes.
Genie Garage Door Remote
Genie openers use a proprietary Intellicode system, which makes the programming sequence slightly different from that of other major brands.
What to expect when programming a Genie remote:
- Press the learn button twice quickly to activate Genie’s programming mode
- Indicator light blinks to confirm the opener is ready to receive the remote signal
- Press and hold the remote button for approximately two seconds within the pairing window
- Release the button and press it two more times to complete the Genie-specific sequence
- Opener light flashes once to confirm successful pairing
Genie’s two-step learn button activation is what most homeowners miss on the first attempt, and nailing that sequence is what completes the pairing.
Craftsman Garage Door Remote
Craftsman openers use the same basic learn button method found across most major residential garage door opener brands.
Follow these steps for Craftsman remote programming:
- Locate the learn button on the back panel of the motor unit, usually purple or yellow
- Press and release the learn button to open the 30-second programming window
- Immediately press and hold the Craftsman remote button until the opener light blinks twice
- Two blinks confirm the remote has been stored in the opener’s memory
- Replace remote batteries and restart if no confirmation signal appears
Knowing your specific Craftsman model before starting makes a noticeable difference in how smoothly the programming goes.
What to Do If Your Garage Door Remote Control Won’t Respond After Programming
An unresponsive remote after a confirmed pairing almost always points to a fixable issue unrelated to the programming steps themselves.
Start by checking these common causes before anything else:
- Replace remote batteries immediately since weak batteries are the leading cause of signal failure after programming
- Clear the opener memory completely and reprogram the remote from scratch
- Move closer to the motor unit to rule out a range or signal strength issue
- Check for nearby LED bulbs or wireless devices that may be interfering with the remote frequency
- Inspect the antenna wire on the opener unit to confirm it is hanging freely and undamaged
To find out exactly what is stopping your remote from responding and how to fix it, read our guide on How to Reset Your Garage Door Remote Control, which walks you through every step of restoring a lost connection between your remote and opener.
Tips to Keep Your Garage Door Remote Working Longer
A few simple habits practiced consistently are all it takes to extend the life of your garage door remote control and avoid unnecessary replacements.
Keep your remote in good working condition by following these tips:
- Replace remote batteries once a year before performance starts to decline
- Keep the remote away from extreme heat, including hot cars, during Richmond, TX summers
- Clean the buttons occasionally to prevent dirt and grease buildup from blocking contact
- Avoid dropping the remote since internal circuit board damage causes intermittent signal failure
- Store a fully programmed spare remote in a cool, dry place as a backup
To spot the warning signs that point to a replacement rather than a quick fix, read our guide on Signs You Need a New Garage Door Remote Control, which covers every indicator that a new remote is the only solution.
Program Your Garage Door Remote Control Correctly and Never Get Locked Out Again
Programming a garage door remote control becomes straightforward once you know the correct sequence for your specific opener brand. Checking compatibility, locating the learn button, and following the steps in the right order are what separate a successful pairing from a frustrating one.
First Call Garage Doors has helped homeowners across Richmond, TX get their garage doors working properly, and we are here when a simple programming fix is not enough. Contact us or give us a call today, and let our team handle the entire programming process, ensuring your garage door remote control is properly paired and ready to use.
Frequently Asked Questions
What steps do I need to follow to reprogram my garage door remote control?
Start by erasing the existing memory on your opener, then follow the standard programming steps by pressing the learn button and syncing your remote within the 30-second pairing window. Reprogramming works best when you start with a cleared opener memory and fresh batteries in the remote.
Where can I find the learn button on my garage door opener to start programming my remote?
Locating the learn button on the garage door remote for programming is straightforward, as it sits on the back or side of the motor unit mounted on your ceiling. It is a small colored button, usually yellow, purple, red, or green, and may be hidden under a light cover on some models.
Can you guide me through programming a universal garage door remote?
To sync garage door remote to opener, enter programming mode, input the correct brand code, exit programming mode, then press the learn button and hold the remote button until the opener's lights flash. Each step must be completed in the correct order for the pairing to succeed.
What should I do if my garage door opener remote stops working and needs to be reset?
Start by clearing the opener memory to reset garage door remote, and do this by holding the learn button for 6 seconds until the indicator light turns off. After the memory is cleared, reprogram the remote from scratch by following the standard learn button steps.
Are there differences in programming remotes for various garage door opener brands?
Yes, different brands use slightly different programming sequences. LiftMaster and Chamberlain use a single press of the learn button, while Genie uses a two-press sequence, and Craftsman follows a standard single-press method with brand-specific confirmation signals.
How can I program a replacement remote for my garage door opener?
Programming a replacement remote follows the same steps as programming a new one. Locate the learn button on your opener, activate learn mode, then press and hold the button on the replacement remote until the opener confirms the pairing with flashing lights or clicks.
Is there a quick way to erase all programmed remotes from my garage door opener?
Yes, hold the learn button on your opener for about six seconds until the indicator light turns off. Doing so clears all programmed remotes, keypads, and other paired devices from the opener memory at once.
Do I need any special tools to program a garage door remote?
No, programming a garage door remote requires no special tools. Fresh batteries in the remote and access to the learn button on your opener are the only two things needed to complete the process.
How do I know if my garage door opener is compatible with a new remote?
Check the brand, model, and manufacturing year of your opener, and compare them with the compatibility list on the remote's packaging or the manufacturer's website. Calling the manufacturer's support line is also a quick way to confirm compatibility before purchasing a new remote.