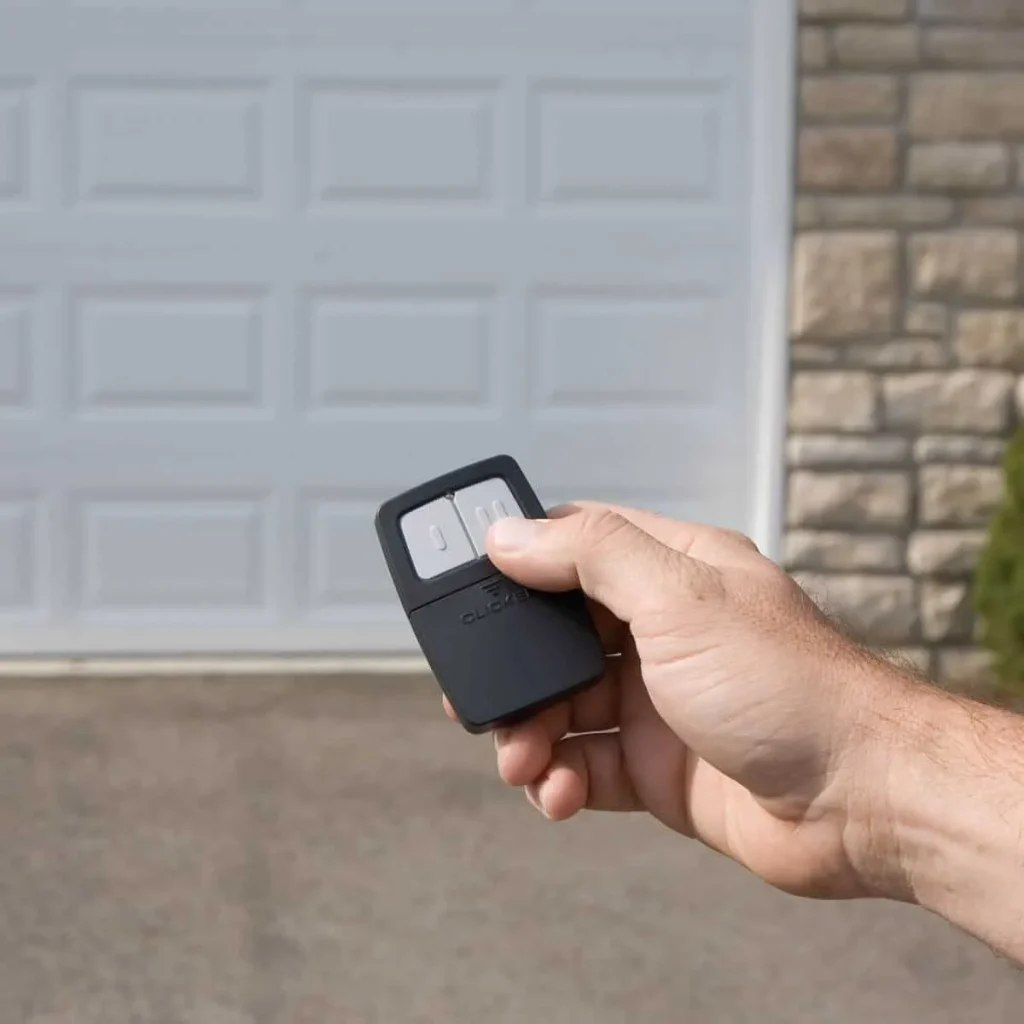
Resetting a garage door remote control is one of the most effective ways to fix a lost connection between the remote and the opener. This process clears all stored codes from the opener’s memory, giving the system a fresh start.
Knowing what steps to take before calling a professional technician can save you time and get your garage door back up and running faster. This guide covers the exact reset steps for the most common garage door opener brands available today.
Why Did My Garage Door Remote Suddenly Stop Working?
Every garage door remote relies on a clear signal and a stored code to communicate with the opener, and when either breaks down, the remote stops responding without warning.
Several things can cause this to happen:
- Dead or old batteries prevent the remote from sending a strong enough signal.
- A rolling code that fell out of sync stops the opener from recognizing the remote.
- Lock mode activated on the wall control panel disables all handheld remotes.
- Radio frequency interference from nearby devices blocks the signal to the opener.
- A power surge or outage wipes the opener’s memory and disconnects all paired devices.
To identify the exact cause of your remote’s behavior, read our guide on Why Is My Garage Door Remote Control Not Working?, which covers the most common triggers and what each one means for your system.
What Actually Happens When You Reset a Garage Door Remote
Resetting a garage door remote wipes all stored codes from the opener’s memory, disconnecting every device previously paired with it.
Here is what happens during the reset process:
- Every paired remote, keypad, and car homelink system loses its connection to the opener immediately.
- The opener will not respond to any device until the reprogramming process is completed.
- Resetting does not affect the opener’s mechanical settings or travel limits.
- After the reset, each device must be re-paired to the opener one at a time.
A reset gives the system a clean slate, but persistent issues after a reset may signal the need for a professional garage door opener repair.
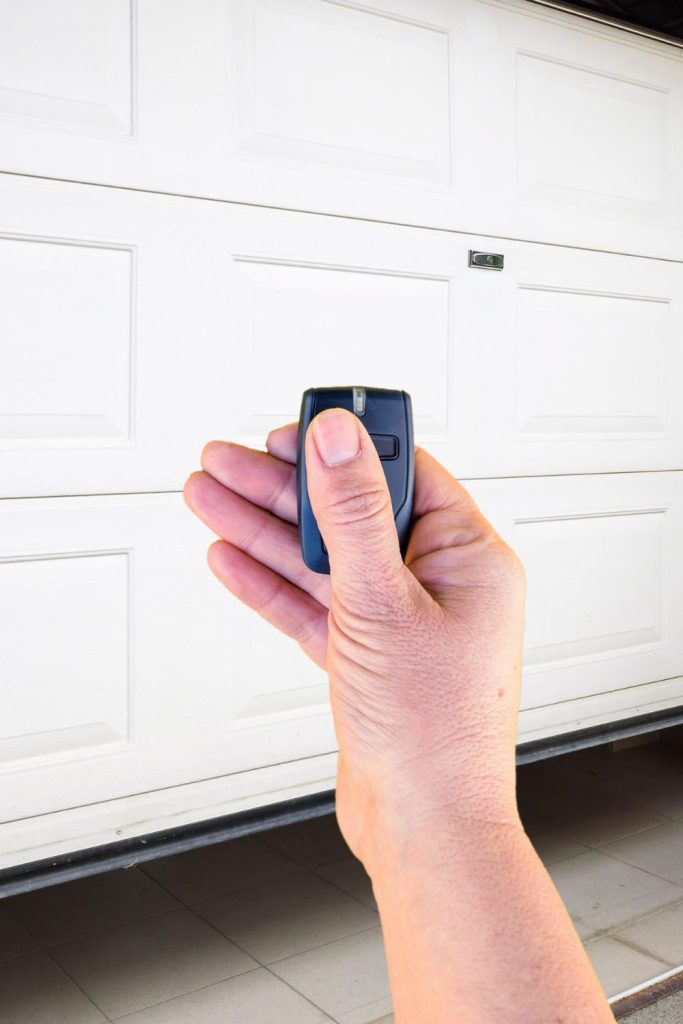
General Steps to Reset Your Garage Door Remote Control
Step 1 — Locate the Learn Button on Your Opener
Knowing exactly where to find the learn button on your opener unit makes the entire reset process faster and less frustrating.
Look for the learn button in these common spots:
- The motor unit on the garage ceiling usually has the button on its back panel or side.
- Removing the light cover on some models reveals the button underneath.
- Button color indicates the frequency the opener operates on, with yellow, green, red, and purple being the most common.
- Checking the manual or looking up your garage door opener’s model online confirms the exact location.
Locating the learn button before starting the reset prevents unnecessary delays once the process is already underway.
Step 2 — Press and Hold the Learn Button to Clear All Codes
Pressing and holding the learn button for the correct duration triggers a complete memory wipe on the opener.
Follow these steps carefully during this stage:
- Hold the learn button down for a full 6 to 10 seconds without releasing it early.
- Keep an eye on the small LED light next to the button throughout the process.
- Avoid pressing any remote buttons while holding the learn button on the opener unit.
- Releasing the button too early results in an incomplete reset with old codes still stored.
- All paired remotes, keypads, and Homelink systems are erased once the LED confirms the reset.
Holding the learn button for the full duration is the only way to completely clear the opener’s memory before reprogramming begins.
Step 3 — Wait for the LED Light to Confirm the Reset
Watching the LED light on the opener unit is the most reliable way to confirm whether the reset was completed successfully.
Pay attention to these LED behaviors during this step:
- LED turning off completely signals the opener’s memory has been fully cleared.
- Flashing multiple times before going dark is normal behavior on certain opener models.
- No LED response after releasing the button means the hold was too short.
- Repeating the process with a full 10-second hold usually resolves the issue with an unresponsive LED.
Paying attention to the LED response tells you exactly whether to move forward or repeat the reset before attempting to reprogram.
Step 4 — Reprogram Your Remote After the Reset
Reprogramming is the final step that restores full communication between the remote and the opener after the memory has been cleared.
Complete the reprogramming process with these steps:
- Press the learn button on the opener once briefly to open the pairing window.
- Around 30 seconds is available to complete the pairing before the window closes automatically.
- Pressing the button on the garage door opener remote until the opener lights blink confirms a successful sync.
- Repeating the pairing process individually for each remote, keypad, or Homelink device is required after a full reset.
- Testing the remote from inside the garage confirms the process was completed correctly.
To get every device reconnected to your opener after a reset, read our guide on How to Program a Garage Door Remote Control, which covers every pairing method and what to do when the sync does not go through on the first attempt.
Brand-Specific Garage Door Remote Reset Instructions
LiftMaster, Chamberlain, or Craftsman Garage Door Remote
LiftMaster, Chamberlain, and Craftsman openers share the same reset process since all three brands operate under the same parent company.
Follow these steps to reset the opener:
- Locate the yellow learn button on the back of the motor unit.
- Press and hold the yellow button for about 6 seconds until the LED turns off.
- LED turning off confirms all stored codes have been cleared from the opener’s memory.
- Press the learn button briefly to start the reprogramming process after the reset.
- Hold the remote button until the opener lights blink to confirm a successful pairing.
Completing this process correctly restores full communication between the remote and the opener without requiring any additional tools or adjustments.
Genie Garage Door Remote
Genie openers use a different reset sequence compared to other major brands, and knowing the correct steps prevents incomplete resets.
Complete the reset using these steps:
- Locate the Program or Set button on the Genie motor unit.
- Press and hold the Program or Set button until the blue LED light turns on.
- Press and hold both the Up and Down arrow buttons simultaneously.
- Hold both arrows until all the unit’s lights turn off completely.
- Lights turning off confirms the memory has been fully cleared and the reset is complete.
Finishing the Genie reset process correctly prepares the opener to accept new remote pairings without any leftover stored codes interfering.
Older Garage Door Remotes With Dip Switches
Older garage door opener systems rely on physical dip switches instead of a learn button, and matching the switch pattern is what completes the reset.
Check and adjust the dip switches using these steps:
- Open the back cover of the remote to find a row of small numbered switches from 1 to 12.
- Each switch can be set to up, down, or center position.
- Moving all switches to the center position performs a factory reset on the remote.
- Setting the switches to match the exact pattern inside the motor unit restores the connection.
- Both the remote and the opener must have identical switch patterns to communicate properly.
Older dip switch systems that keep losing connection are often a sign that a new garage door opener replacement is the more practical solution.
Garage Door Remote Control Still Not Working After a Reset? Here’s Why
Certain underlying issues can prevent the garage door remote control from responding even after a reset is completed correctly.
Here are the most common reasons:
- Lock or vacation mode on the wall control panel disables all handheld remotes.
- Radio frequency interference from LED bulbs, wireless cameras, or Wi-Fi routers blocks the signal to the opener.
- Dead or old batteries prevent the remote from sending a strong enough signal.
- Corroded battery terminals stop the battery from making a proper connection inside the remote.
- Rolling code out of sync causes the opener to reject the remote’s signal entirely.
- A faulty logic board inside the motor unit prevents the opener from accepting any remote after a reset.
To find out which of these issues applies to your situation, read our guide on Signs You Need a New Garage Door Remote Control, which walks through the most telling indicators that point to replacement over repair.
What to Check Before Calling a Garage Door Technician
Running through a few basic checks before calling a technician can save time and help identify whether the problem is something you can address on your own.
Here is what to check first:
- Confirm that the remote batteries are fresh and that the terminals in the battery compartment are clean.
- Check the wall control panel to see if lock mode is turned on and disable it if it is.
- Verify the opener unit is receiving power by checking whether its lights are on.
- Test a second remote or keypad to determine if the issue is with one device or the entire system.
- Look for any new wireless devices or LED bulbs recently added near the garage that could cause interference.
- Make sure the learn button area on the opener is free of dust and visible damage.
Going through these checks first gives a clearer picture of the problem and helps a garage door repair technician diagnose the issue faster if a service visit is still needed.
Reset Your Garage Door Remote Control the Right Way
Resetting a garage door remote control resolves most connectivity issues when the correct steps are followed, and the right reset method is matched to the specific opener brand. Knowing what to check and when to call a professional puts you in the best position to get the problem resolved without repeating the process.
First Call Garage Doors has helped homeowners across Richmond, TX reset, reprogram, and restore their garage door remote control systems back to full working order. Contact us or give us a call today, and let our team handle everything from a simple remote reset to a full garage door repair so you never have to deal with the same problem twice.
Frequently Asked Questions
Can I reset my garage door remote if I lost the manual?
Yes, most modern openers follow the same general reset process using the learn button as the starting point. Looking up the model of your garage door opener on the manufacturer's website confirms the exact steps for your specific unit.
Why does my remote keep losing its programming after the reset garage door remote process is done?
A remote that repeatedly loses its programming usually indicates radio-frequency interference, a weak power supply, or a failing logic board inside the motor unit. A licensed technician should inspect the opener directly if the problem continues after multiple attempts.
How do I know if my opener is compatible with a new remote after a reset?
Compatibility depends on the operating frequency and brand of both the remote and the opener, and not all remotes work with every system. Checking the label on the motor unit or contacting the manufacturer confirms whether a replacement remote will pair successfully.
Can I use the learn button garage door remote process to add multiple remotes at once?
No, each remote must be paired individually through a separate learn button session on the opener. Every remote, keypad, and Homelink system requires its own dedicated pairing process before the opener will recognize it.
Does resetting the opener affect the garage door remote programming for my car's built-in Homelink system?
Yes, a full reset disconnects the car's Homelink system along with every other paired device connected to the opener. The Homelink system will need to go through the full garage door remote programming process again, using the learn button.
Can I sync garage door remote to opener after a reset without pressing the learn button?
No, pressing the learn button is required to open the pairing window before any remote can be successfully connected to the system. Without first activating the learn button, the opener will not accept any new device, regardless of how many times the remote button is pressed.
How do I know if my garage door opener's memory is full?
A full opener memory prevents new remotes from being added, and the LED on the learn button will not respond normally during a pairing attempt. Most openers store between one and forty devices, and checking the manual for your specific model confirms the exact memory limit.
Is it possible to program garage door remote devices from different brands to the same opener?
Yes, many modern openers are compatible with universal remotes designed to work across multiple brands and frequencies. Verifying the operating frequency and compatibility with your specific opener model before purchasing avoids pairing issues after the reset.
How often should I reset garage door remote systems at home?
Resetting a garage door remote system does not need to be done on a regular schedule, and most homeowners only do it when a specific problem arises. The most common triggers include a lost remote, moving into a new home, or a connectivity issue that reprogramming alone could not fix.