A garage door that slams shut or stops short of closing often needs fine-tuning. Adjusting a LiftMaster garage door opener prevents excessive wear, improves door alignment, and ensures your family’s safety. This comprehensive step-by-step guide explains how to resolve these issues and ensure your system runs smoothly with minimal effort and no costly service calls.
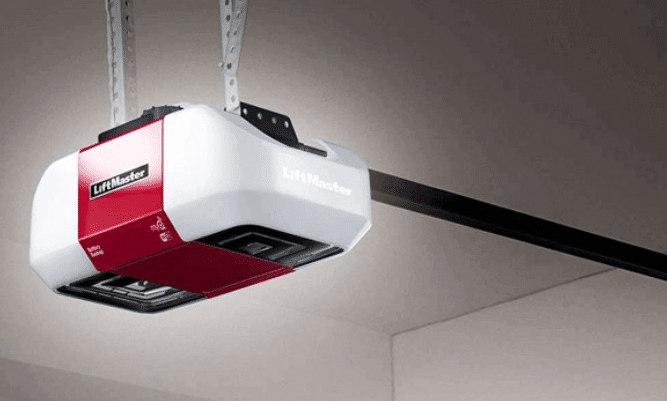
LiftMaster openers are renowned for their reliability, but they occasionally require adjustments to perform optimally. This guide covers setting travel limits, fine-tuning the force settings, and correcting door sensitivity. With a few basic tools and clear steps, you can make these adjustments and enjoy quiet, reliable garage door performance year-round.
Understanding Your LiftMaster Opener
Before adjusting a LiftMaster garage door opener, always identify your model. Each type adjusts differently, so knowing the correct method keeps your garage door running safely, smoothly, and without damage.
Arrow-Button LiftMaster Models
Arrow-button models have an electronic panel with up and down arrows. These can be used to control travel limits, door force, and garage door opener sensitivity settings.
Color-Coded Button LiftMaster Types
These models use red, yellow, or purple learn buttons. Each color changes how you adjust the travel and force, so check your manual before starting.
Older Plastic-Screw LiftMaster Models
Older LiftMaster openers have plastic screws labeled “up” and “down.” You’ll turn these by hand to adjust the door’s opening and closing range.
Why Garage Door Force Settings Matter
Your garage door should reverse if it hits about 20 pounds of pressure. This force setting protects your family and stops damage to objects below.
How to Find Your LiftMaster Model
Look for a sticker on the side or back of your opener. Knowing your exact model keeps your LiftMaster garage door adjustment steps accurate and safe.
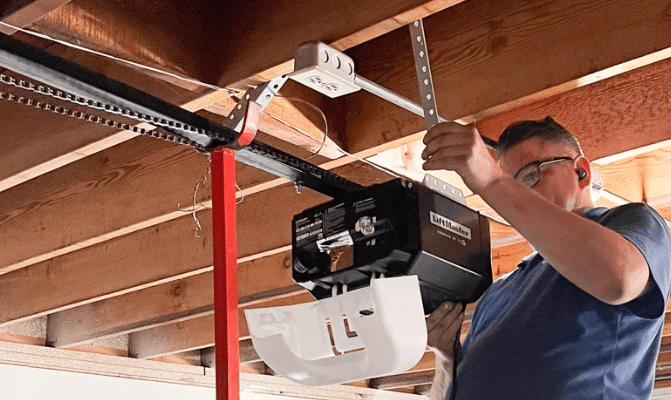
Preparing for a LiftMaster Garage Door Opener Adjustment
Before making any adjustments, gather essential tools and prepare the workspace to work on your garage door opener safely. Here’s what you will need:
1. Owner’s Manual
Every LiftMaster garage door opener is slightly different. The owner’s manual provides step-by-step instructions for adjusting settings for your specific model.
2. Tools You’ll Need
Use a sturdy ladder, a flathead screwdriver, and a flashlight. These tools help you safely reach the opener and make accurate LiftMaster garage door adjustments without guessing.
3. Safety Items and Precautions
Always unplug the opener before any adjustments. This prevents injuries or electrical issues. Ensure kids and pets stay clear of the garage throughout the process.
Before starting, turn off any light fixtures that could interfere with your visibility and position your ladder securely beneath the motor head or wall unit.
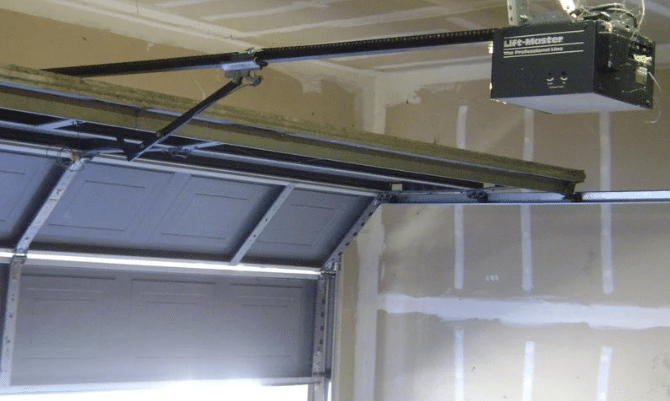
Adjusting Travel Limits on a LiftMaster Garage Door Opener (Up & Down)
Travel limits tell your garage door when to stop moving, so setting these accurately helps avoid damage to your garage door opener or the door itself.
For Arrow-Button Models
- Press and hold the “adjust” button until the up arrow blinks.
- Press and hold the up arrow until the door is fully open.
- Press the “adjust” button again to lock in that position.
- Press and hold the down arrow to set the closed position.
- Hit the “adjust” button one last time to save the settings.
For Older Plastic-Screw Models
- Locate the plastic adjustment screws labeled “up” and “down” on the motor.
- Turn the screw clockwise to increase travel or counterclockwise to reduce.
- One full turn changes travel by about 2 inches.
- After adjustment, run the opener through 2–3 complete open-close cycles to verify accurate limits.
Avoid overextending the limits. Your garage door should never slam into the ground or hit the ceiling. Fine-tuning prevents unnecessary strain on the opener motor.
Adjusting Force and Sensitivity on a LiftMaster Garage Door Opener
Force and sensitivity determine how much resistance your garage door opener allows before reversing. These settings are crucial for safety and help ensure smooth and reliable operation.
Locate Force Adjustment Screws
- Remove the light cover from your opener.
- Behind it, find the two blue dials labeled “upforce” and “downforce.”
Make Adjustments
- To increase the force, turn the dial clockwise.
- To decrease sensitivity, turn the dial counterclockwise.
Manual Safety Test
- Close the door and hold your hand under it with about 20 pounds of pressure.
- The door should reverse immediately.
- If it doesn’t, decrease the force.
Repeat this test after each adjustment to ensure you meet garage door safety standards. Proper force settings ensure the door reacts to obstacles like a fallen object or a person under it.
Reprogramming Travel & Force Limits Using Button Method
Modern LiftMaster openers make it easy to reprogram travel and force limits. This method is fast, reliable, and great for adjusting a LiftMaster garage door opener.
If your model has an “Adjust” button with up and down arrows, you can quickly reset the opener safely and accurately.
Step 1: Enter Programming Mode
Hold down the “Adjust” button for five seconds. When the up arrow starts blinking, the opener has entered programming mode and is ready for setup.
Step 2: Set the Open Limit
Press and hold the up arrow until your garage door is fully open. Stop when it’s just right to avoid overextending.
Step 3: Confirm Open Limit
Press the “Adjust” button again to confirm the open limit setting. The up arrow will stop blinking, signaling that the opener has saved it.
Step 4: Set the Close Limit
Next, press and hold the down arrow until the garage door fully closes. Be sure it touches the floor gently without slamming or leaving a gap.
Step 5: Confirm Close Limit
Press the “Adjust” button to save the close limit. The opener will give a quick blink or sound to confirm.
Step 6: Auto-Set Force Levels
The opener will automatically open and close the door once to complete the process. This automatic cycle helps it adjust force settings for smoother performance.
This method is one of the easiest ways to adjust a LiftMaster garage door opener. It enhances safety and smooth operation, keeping your system running reliably for years.
Troubleshooting LiftMaster Garage Door Opener Adjustment Problems
Even after adjusting a LiftMaster garage door opener, issues may still persist. Spotting small problems early can help prevent major damage or costly garage door repairs later on.
1. Jerky Movement or Reversal
Suppose the garage door moves unevenly or reverses suddenly, slightly lower the force setting. This often resolves minor resistance issues and improves smooth motion.
2. Door Not Fully Opening or Closing
Adjust the travel limits when the door doesn’t reach the top or bottom. Adjust either the up or down setting to achieve accurate stopping points.
3. Door Reverses Too Early
If your door reverses before hitting the ground, increase the downforce slightly or fine-tune the down-travel limit for proper door closure.
4. Manual Works Fine, Auto Does Not
When your door moves fine by hand but not with the opener, it’s usually a setting problem. Recheck your travel arrangements or make any necessary adjustments carefully.
5. Check the Safety Sensors
Ensure the safety sensors at the bottom are clean, straight, and unobstructed. Misaligned sensors often cause unexpected stops or prevent the vehicle from operating fully.
If problems persist while adjusting, your springs or door balance may be misaligned. Call a trained technician for safe, expert help.
Tips to Maintain Your LiftMaster Opener Adjustment
Regular maintenance helps keep your system safe and smooth. After adjusting the LiftMaster garage door opener, follow these tips to ensure everything works like new.
1. Clean the Tracks
Wipe garage door tracks with a damp cloth every few months to remove dirt. Clean tracks help your LiftMaster opener run smoothly and without strain.
2. Lubricate Moving Parts
Spray a silicone-based garage door lubricant on metal rollers and hinges. This keeps parts gliding effortlessly and reduces stress on your LiftMaster opener system.
3. Test the Door Balance
Unplug the opener, then manually raise the garage door to the halfway point. If it stays in place, the balance is good. If not, it needs fixing.
4. Check and Clean Sensors
Ensure the photo-eye sensors at the bottom of the door are clean and properly aligned. Dust or misalignment can stop the opener from working correctly.
5. Tighten All Hardware
Inspect brackets, hinges, and opener mounting bolts. Tighten any loose parts to prevent shaking or shifting that could throw off the opener’s settings.
6. Replace Batteries Annually
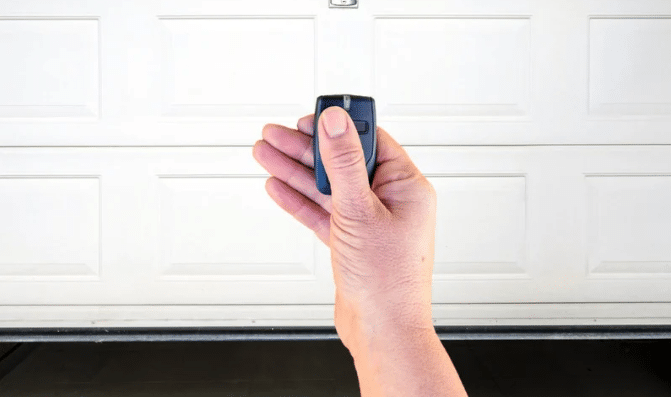
Replace remote and wall control batteries yearly for smooth operation. If the door responds slowly or stops working, fresh batteries usually solve the problem.
Following these simple steps keeps your system reliable. After you adjust a LiftMaster garage door opener, regular upkeep helps keep it safe, running smoothly, and lasting longer.
Frequently Asked Questions
What If the Door Reverses Before Hitting the Floor?
If your LiftMaster garage door opener reverses too early, try increasing the downforce setting slightly. You can also adjust the down travel limit until the door closes smoothly.
Can I Make This Adjustment Myself Safely?
Yes, you can safely adjust your LiftMaster garage door opener if you unplug it first and follow all the instructions. Never attempt to repair or modify the torsion springs on your own.
My Door Doesn’t Stay Halfway Open Manually — Is the Balance Wrong?
If the door moves when lifted halfway and does not stay in place, the balance is likely off. This often means the spring needs more or less tension to work correctly.
How Often Should I Recheck Settings?
You should recheck your LiftMaster garage door opener settings at least twice a year. Check again anytime the door jerks, reverses early, or shows sensor problems.
Conclusion
Keeping your garage safe and quiet starts with adjusting a LiftMaster garage door opener correctly. This small job helps prevent wear and keeps your system running smoothly. From force settings to travel limits, staying on top of adjustments means fewer surprises and more peace of mind.
If your door still jerks, reverses suddenly, or does not close fully, it may be time to call in a professional. At First Call Garage Doors, we’re ready to provide reliable and expert garage door repair in Richmond, TX, whenever you need it. We ensure that every opener works safely and reliably throughout the year.
Don’t wait for the door to fail before acting. Whether you need quick repairs or help adjusting a LiftMaster garage door opener, we’ve got your back. Call First Call Garage Doors today and enjoy safe, smooth garage access backed by local experts you can count on.
End Note
If you’re looking for fast, reliable service after adjusting a LiftMaster garage door opener, visit First Call Garage Doors. We provide expert help with garage services, garage door installation, and dependable garage door repair to keep your system running smoothly.
We handle garage door opener repair, new garage door replacement, and routine garage door service. From broken springs to garage door maintenance, we make it easy to protect your garage and avoid surprise problems.
Would you like to learn more about how we can assist with your garage door needs? Explore our service areas to discover if we provide garage door assistance in your neighborhood. You can also learn more about our team on the About Us page, explore our gallery of past projects, and discover helpful tips on our blog. For quick updates and service links, visit our Linktree, follow us on Instagram, or Contact Us directly through our website. We’re here whenever you need us, offering quick and reliable service with a friendly touch.
First Call Garage Doors
20527 FM 1093 Unit B205, Richmond, TX 77407, United States
+17132482684